Publishing Your Python Project with Poetry
Are you ready to share your Python project with the world and make it accessible to users and developers alike?
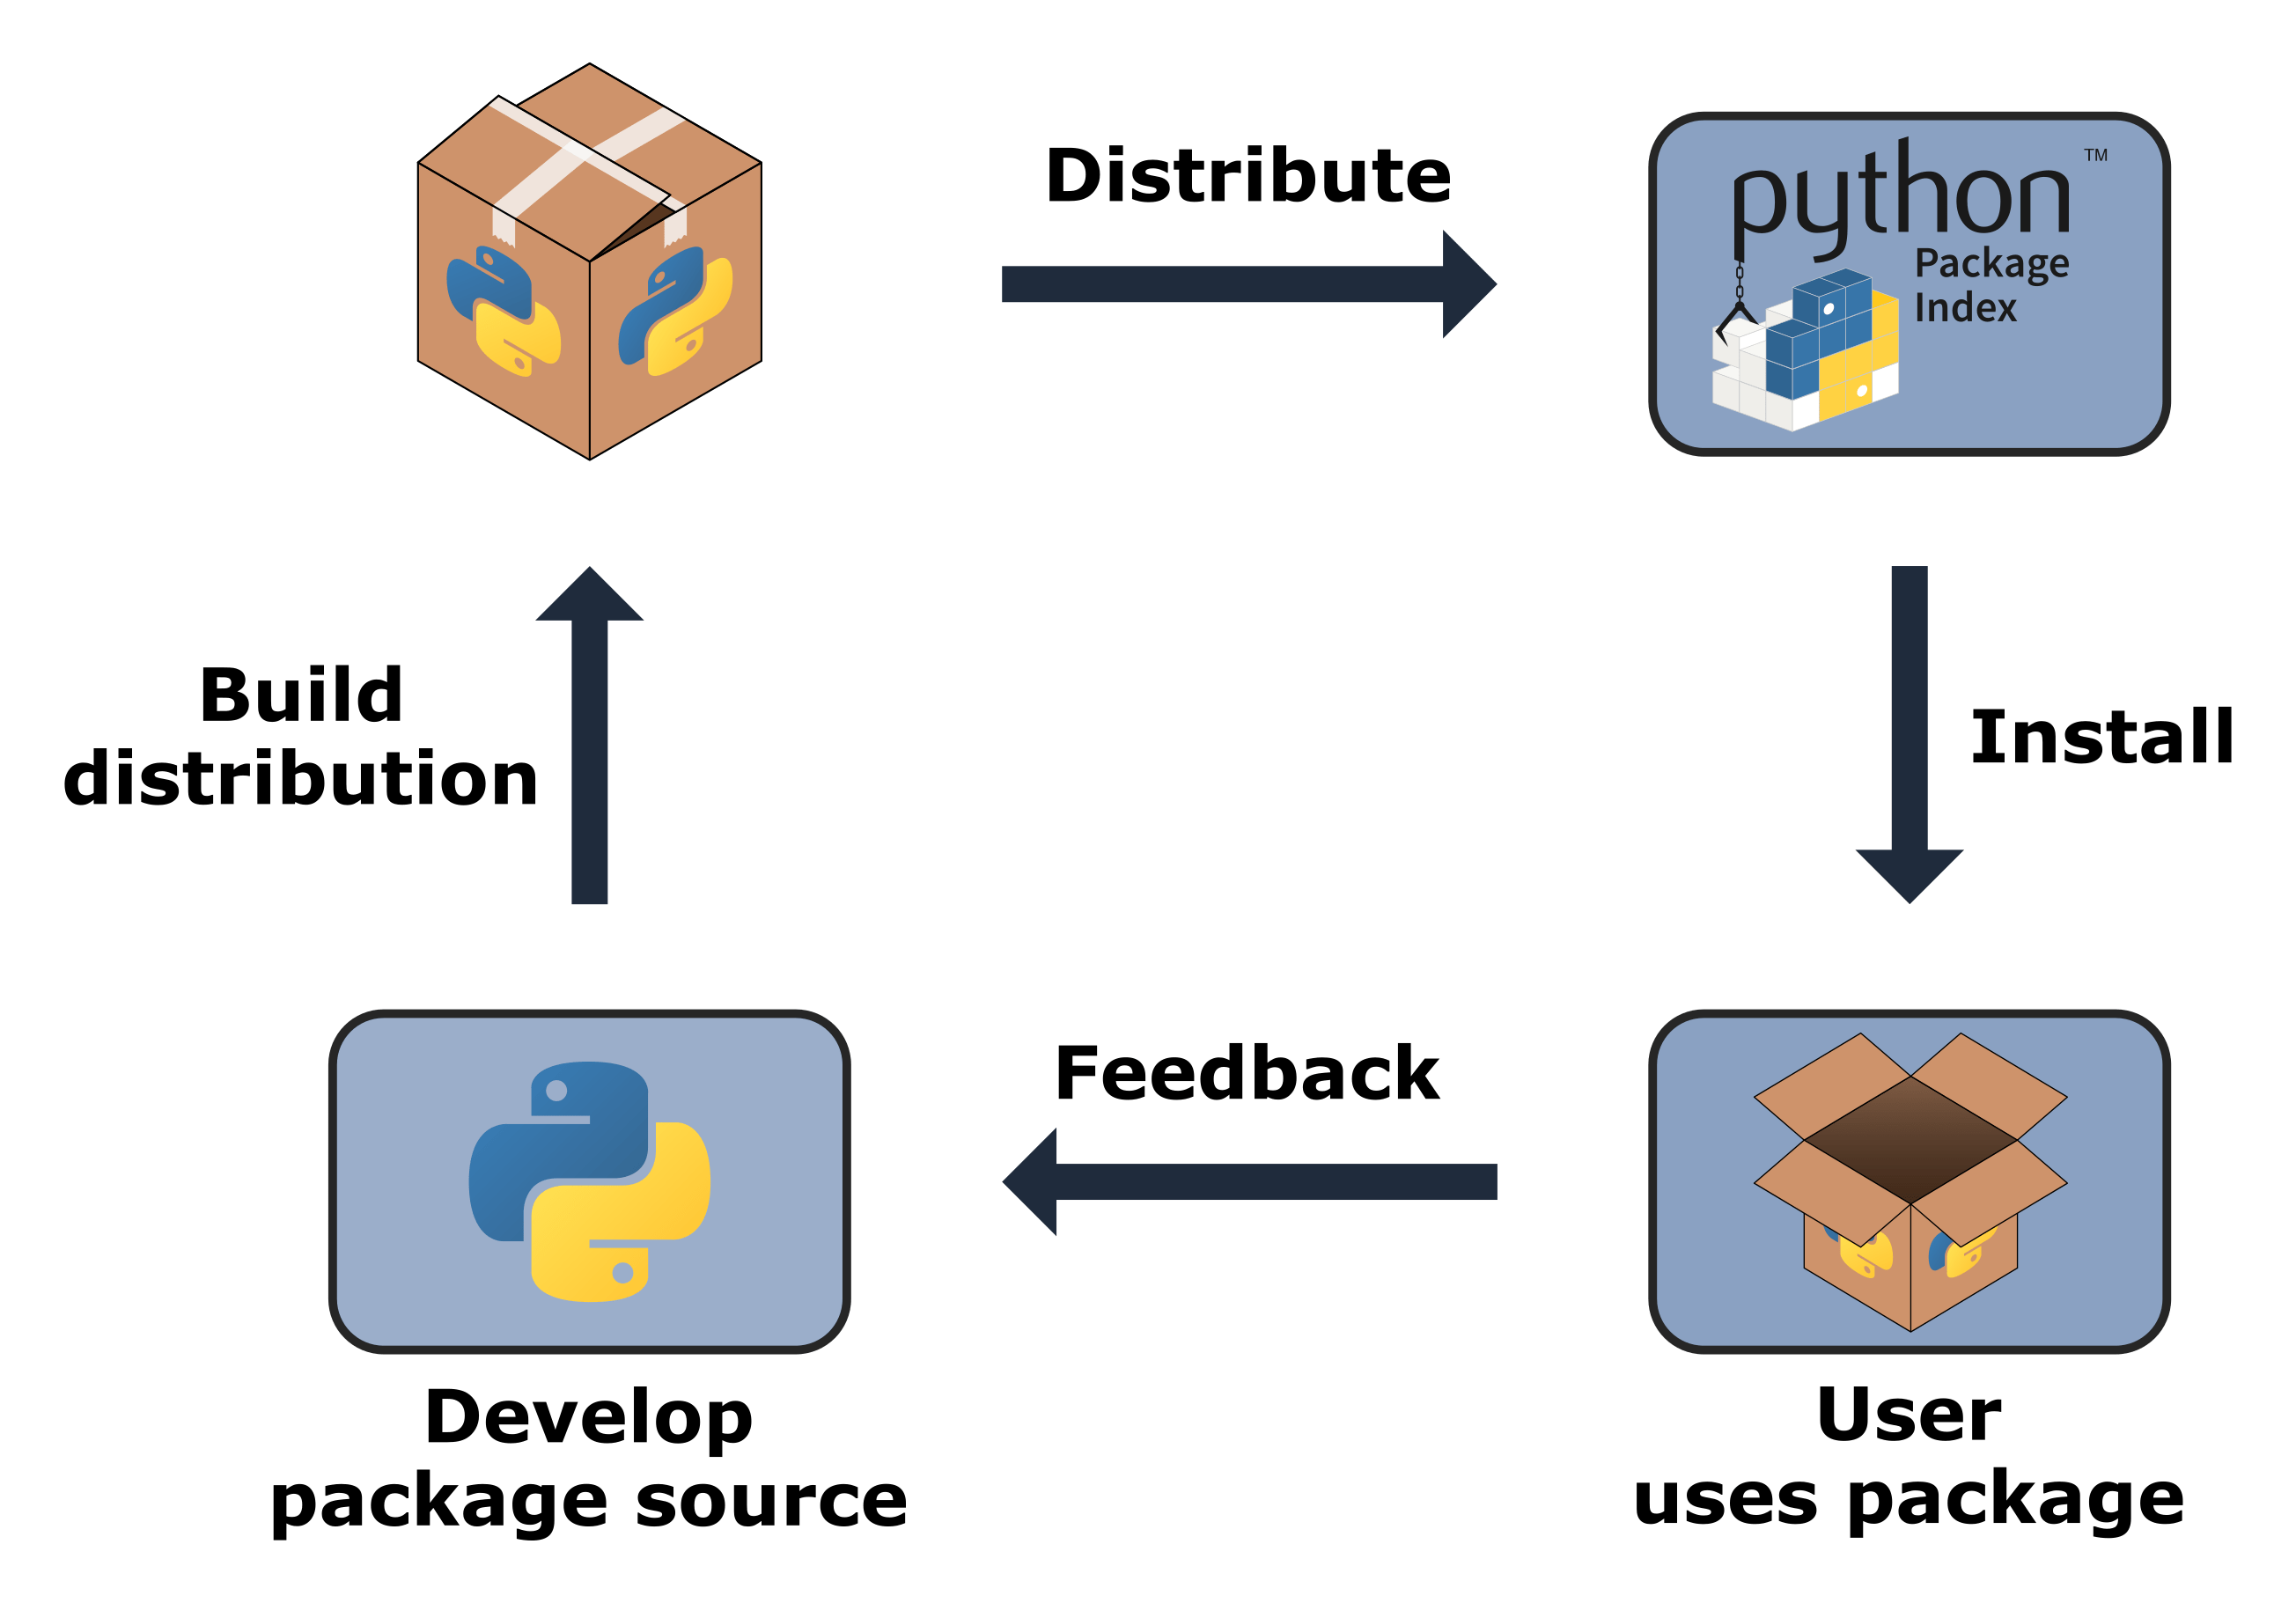
Publishing your work not only showcases your creation but also enables others to benefit from and contribute to your project. Discover the simplest way to publish Python projects using Poetry, a powerful dependency management and packaging tool.
In this guide, we'll walk you through setting up your project with Poetry and publishing it on both test.pypi and production PyPI.
Get ready to make your project accessible for testing and distribution. Let's get started!
Getting Started with Poetry
Poetry is one of the simplest and most powerful tools for managing Python dependencies and packaging your projects. If you're new to Poetry, don't worry! We'll guide you through the process step by step.
First, ensure you have Poetry installed on your system:
Next, create your project using Poetry:
Certainly! Here's the modified section with a visual representation of the folder structure:
When you run this command, Poetry will generate a project structure with the following folders and files:
project-folder-name/
├── pyproject.toml
├── README.md
├── src/
│   └── your_main_python_file.py
├── tests/
│   └── test_your_main_python_file.py
├── poetry.lock
└── .gitignore
python project file architecture for packaging
- project-folder-name/: This is the root directory of your project. It contains all the files and folders related to your project.
- pyproject.toml: This file is the Poetry configuration file where you define your project's dependencies, Python version, and other settings.
- README.rst: This file contains the documentation for your project. You can use reStructuredText format for writing documentation.
- src/: This folder is where your Python source code files reside. Placing your source files in a subfolder like this is important for proper project management. It helps keep your project organized and separate from other files, such as tests or configuration files.
- tests/: This folder is where you write tests for your project. Writing tests is crucial for ensuring your code works as expected and for maintaining code quality.
- poetry.lock: This file is automatically generated by Poetry and contains information about the exact versions of your project's dependencies.
- .gitignore: This file specifies which files and directories should be ignored by version control systems like Git. It helps keep irrelevant files out of your repository.
Organizing your project files in this way helps maintain a clean and structured project layout, making it easier to manage, collaborate on, and maintain your codebase.
For Python project management with Poetry, refer to this documentation. If you're not familiar with Poetry, you can check out this beginner's guide to get started or this this python dependency management cheat for usual commands.
Package name vs Module name
If you want to set your custom module name, you can update your pyproject.toml file to do so
For example, if you want you package name on pypi to be openconv-python, but the name of the module openconv instead of openconv_python, you can do as below.
Then, make sure put your module files inside the directory openconv
Publishing Your Project on PyPi or Test PyPI
Account Setup (One-Time Process)
Before publishing your project on pypi test.pypi, ensure your account setup is complete:
-
Create an account: Visit pypi.org or test.pypi.org and create an account using your email address.
-
Verify your email: Check your inbox for a verification email from pypi.org or test.pypi.org and follow the instructions to verify your email address.
-
Set up Two-Factor Authentication (2FA): Navigate to your account settings on pypi.org test.pypi.org and enable 2FA for added security. Follow the instructions to set up 2FA using an authenticator app or SMS.
Once your account setup is complete, proceed with configuring Poetry for publishing your project.
Configuring Poetry (One-Time Setup)
Follow these steps to configure Poetry for publishing on test.pypi:
-
Add the test.pypi repository to your Poetry config:
-
Obtain a token from test.pypi.org and store it:
-
Add the pypi repository to your Poetry config:
-
Obtain a token from pypi.org and store it:
Publishing to Pypi or Test PyPI
When you're ready to publish your project for testing:
-
Bump the version using Poetry:
-
Build the new version
At this point, you can even use the package on your own computer
-
Publish your project:
Using the Package from PyPI or TestPyPI
Once your Python project is packaged and published on PyPI or TestPyPI, other developers can easily use it in their projects. Here's how they can add your package as a dependency using both pip and Poetry:
Using pip
To use your package from PyPI, other developers can simply add it to their project's dependencies using pip. They can do this by running the following command:
Replace your-package-name with the name of your package as published on PyPI.
If your package is published on TestPyPI for testing purposes, developers can also add it to their projects similarly using pip and Poetry, but they need to specify the TestPyPI repository URL. Here's how they can do it:
Replace your-package-name with the name of your package as published on TestPyPI.
Using Poetry
For Poetry users, they can specify the TestPyPI repository URL in their pyproject.toml file before adding the package (more details here):
[[tool.poetry.source]]
name = "test-pypi"
url = "https://test.pypi.org/simple/"
priority = "explicit"
Then, they can add the package using Poetry as usual:
Again, replace your-package-name with the name of your package as published on TestPyPI.
By following these steps, other developers can easily include your package as a dependency in their Python projects, whether it's from PyPI or TestPyPI.
Conclusion
Congratulations! You've learned how to publish your Python project using Poetry. Whether you're testing your package on test.pypi or releasing it to the production PyPI, Poetry simplifies the process and ensures smooth distribution of your projects.
For further reference, you can also check out this Stack Overflow answer demonstrating the publishing process.
Now, go ahead and share your amazing Python projects with the world!
Related Posts
- Beginner's guide to poetry
- python dependency management cheat including poetry, conda and more
- Introducing Two New Packages for Streamlining File Conversions in Python